We are still in Wedding Season - So I am sharing this card made using the Botanical Rose and the Classic Wedding Collection paper pad from Heartfelt Creations

Heartfelt Products you need are:-
HCPC – 3651 Botanical Rose Stamp set
HCDA – 758 Botanical Wings die set
HCPC – 3835 Leafy Accents stamp set
HCD1 – 7193 Leafy Accents die set
HCFB1 – 467 3D Leafy Accents Shaping Mold
HCDP1 – 279 Classic Wedding Paper Collection
242174 Vellum
HCST1 – 401 Deluxe Flower Shaping Kit
ANC806 silver lining prills
Other stuff:-
Versamark, Ranger Bridal tinsel embossing powder, Tonic
nuvo liquid mercury crystal drops , White card, Crystal gems, Toasted rose
chalk cloud ink, Old Olive ink pad – stampin up, Mirri card, 1 -1.5” white lace,
Double sided tape, Hot glue, Strong wet glue
This is what I did:-
Score a 6.25” x 12.5” piece of white card at 6.25” to
give you a square card base.
Cut a 6” square
piece of mirri card and a 5.75” piece of paper from the pad. Ink the edges of
the paper with toasted rose and adhere to the mirri card.
Colour 2 x 7” strips of white lace with the chalk cloud
ink and allow to dry. Once dry wrap around the card on 2 sides leaving a thin
boarder of pattern paper showing. Secure in place with double sided tape and
adhere to the card base using strong wet glue.
Make the leaves:- Stamp onto white card using the old olive
ink and die cut. Place the die cut face down onto the shaping mold and spray
with water. Place the lid of the mold on top and run through the die cutting
machine. Remove from the mold and allow to dry.
Make the flowers:- Stamp in versamark and cover with
bridal tinsel, remove excess powder and heat to set. Die cut the flowers and
colour the reverse using chalk cloud ink. Shape the flowers using the flower
shaping kit and adhere 2 layers of different sized petals together using wet
glue. Add crystal drops to the centre of the flowers and sprinkle with prills –
remove excess and allow to dry and harden.

Position the flowers and leaves onto the card using hot
glue.
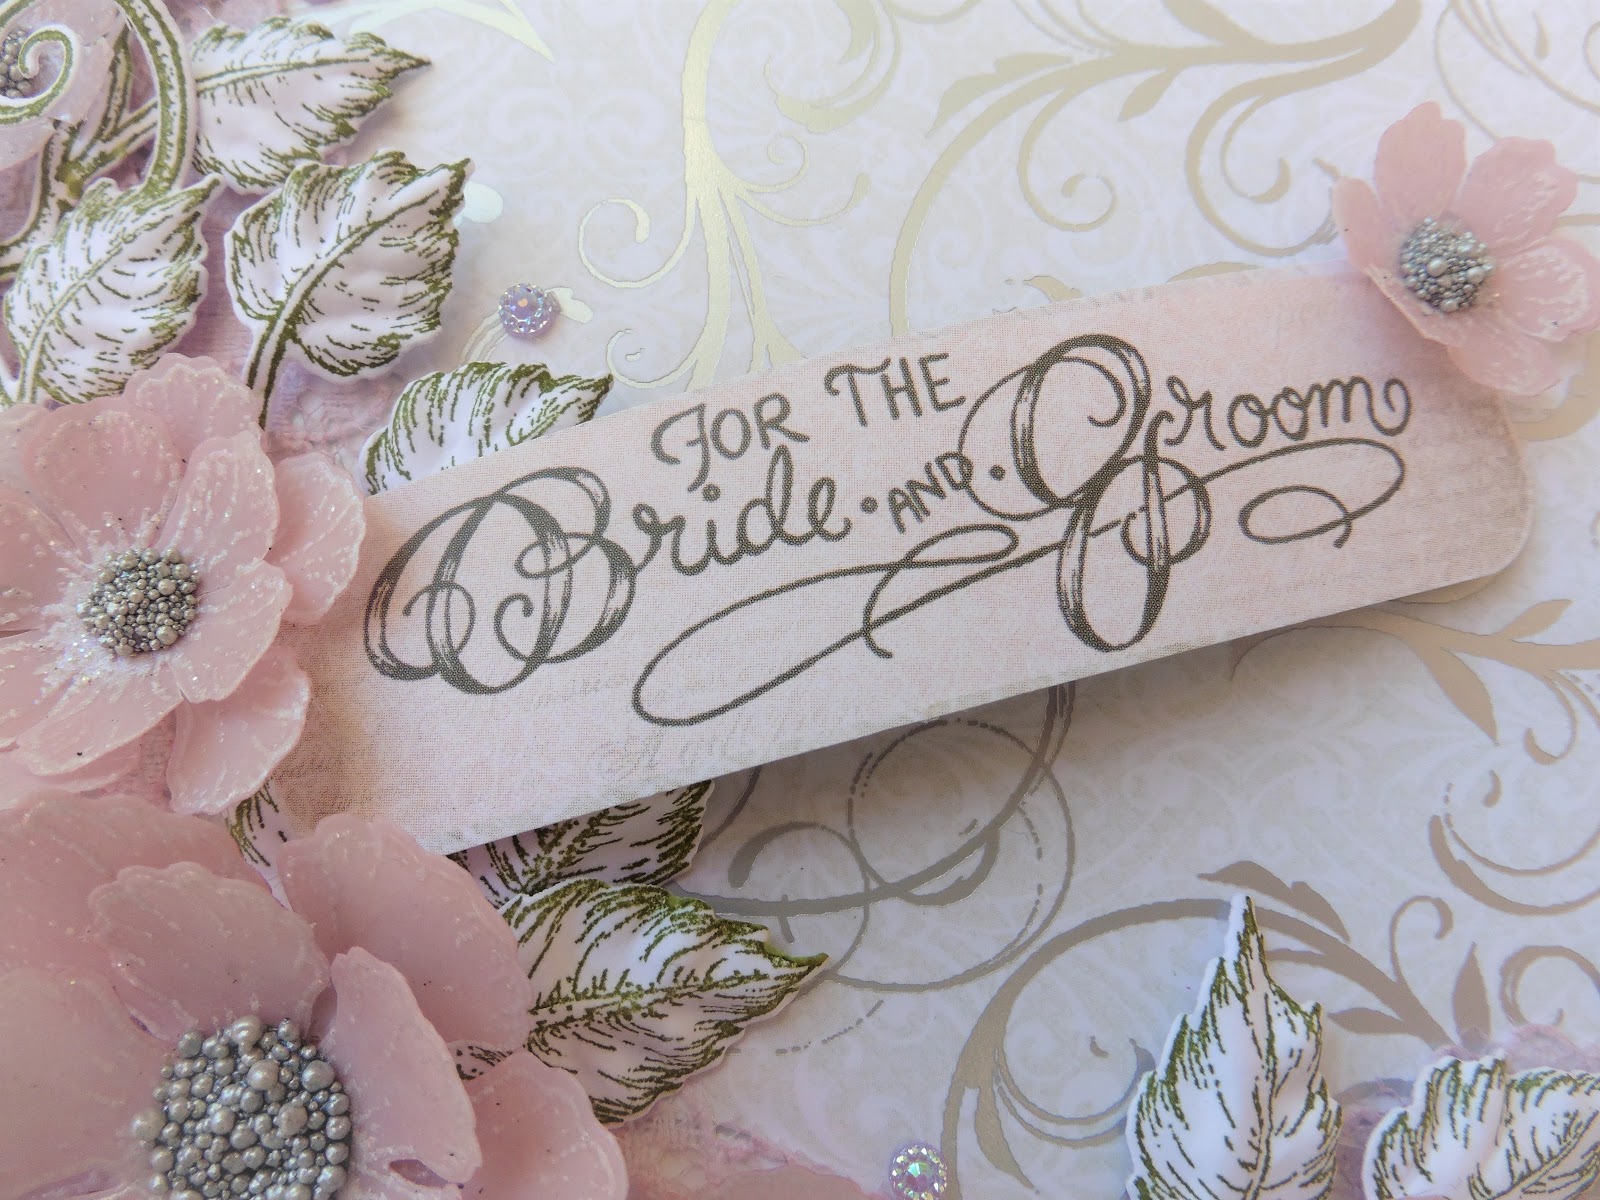
Cut the sentiment from the paper pad and shape. Add to
the card using hot glue and add a small blossom at the top of the sentiment.
Thank you for popping by today.
X
This lovely project is really drawing my attention. You've designed a gorgeous card with such a sophisticated style. Love your color choices. Well done!
ReplyDeleteWow...what a gorgeous Wedding card Cheryl! Love it!
ReplyDeleteSuch a gorgeous elegant card Cheryl, so fun to look at!
ReplyDelete