HARK THE HERALD ANGELS SING

GLORY TO THE NEW BORN KING

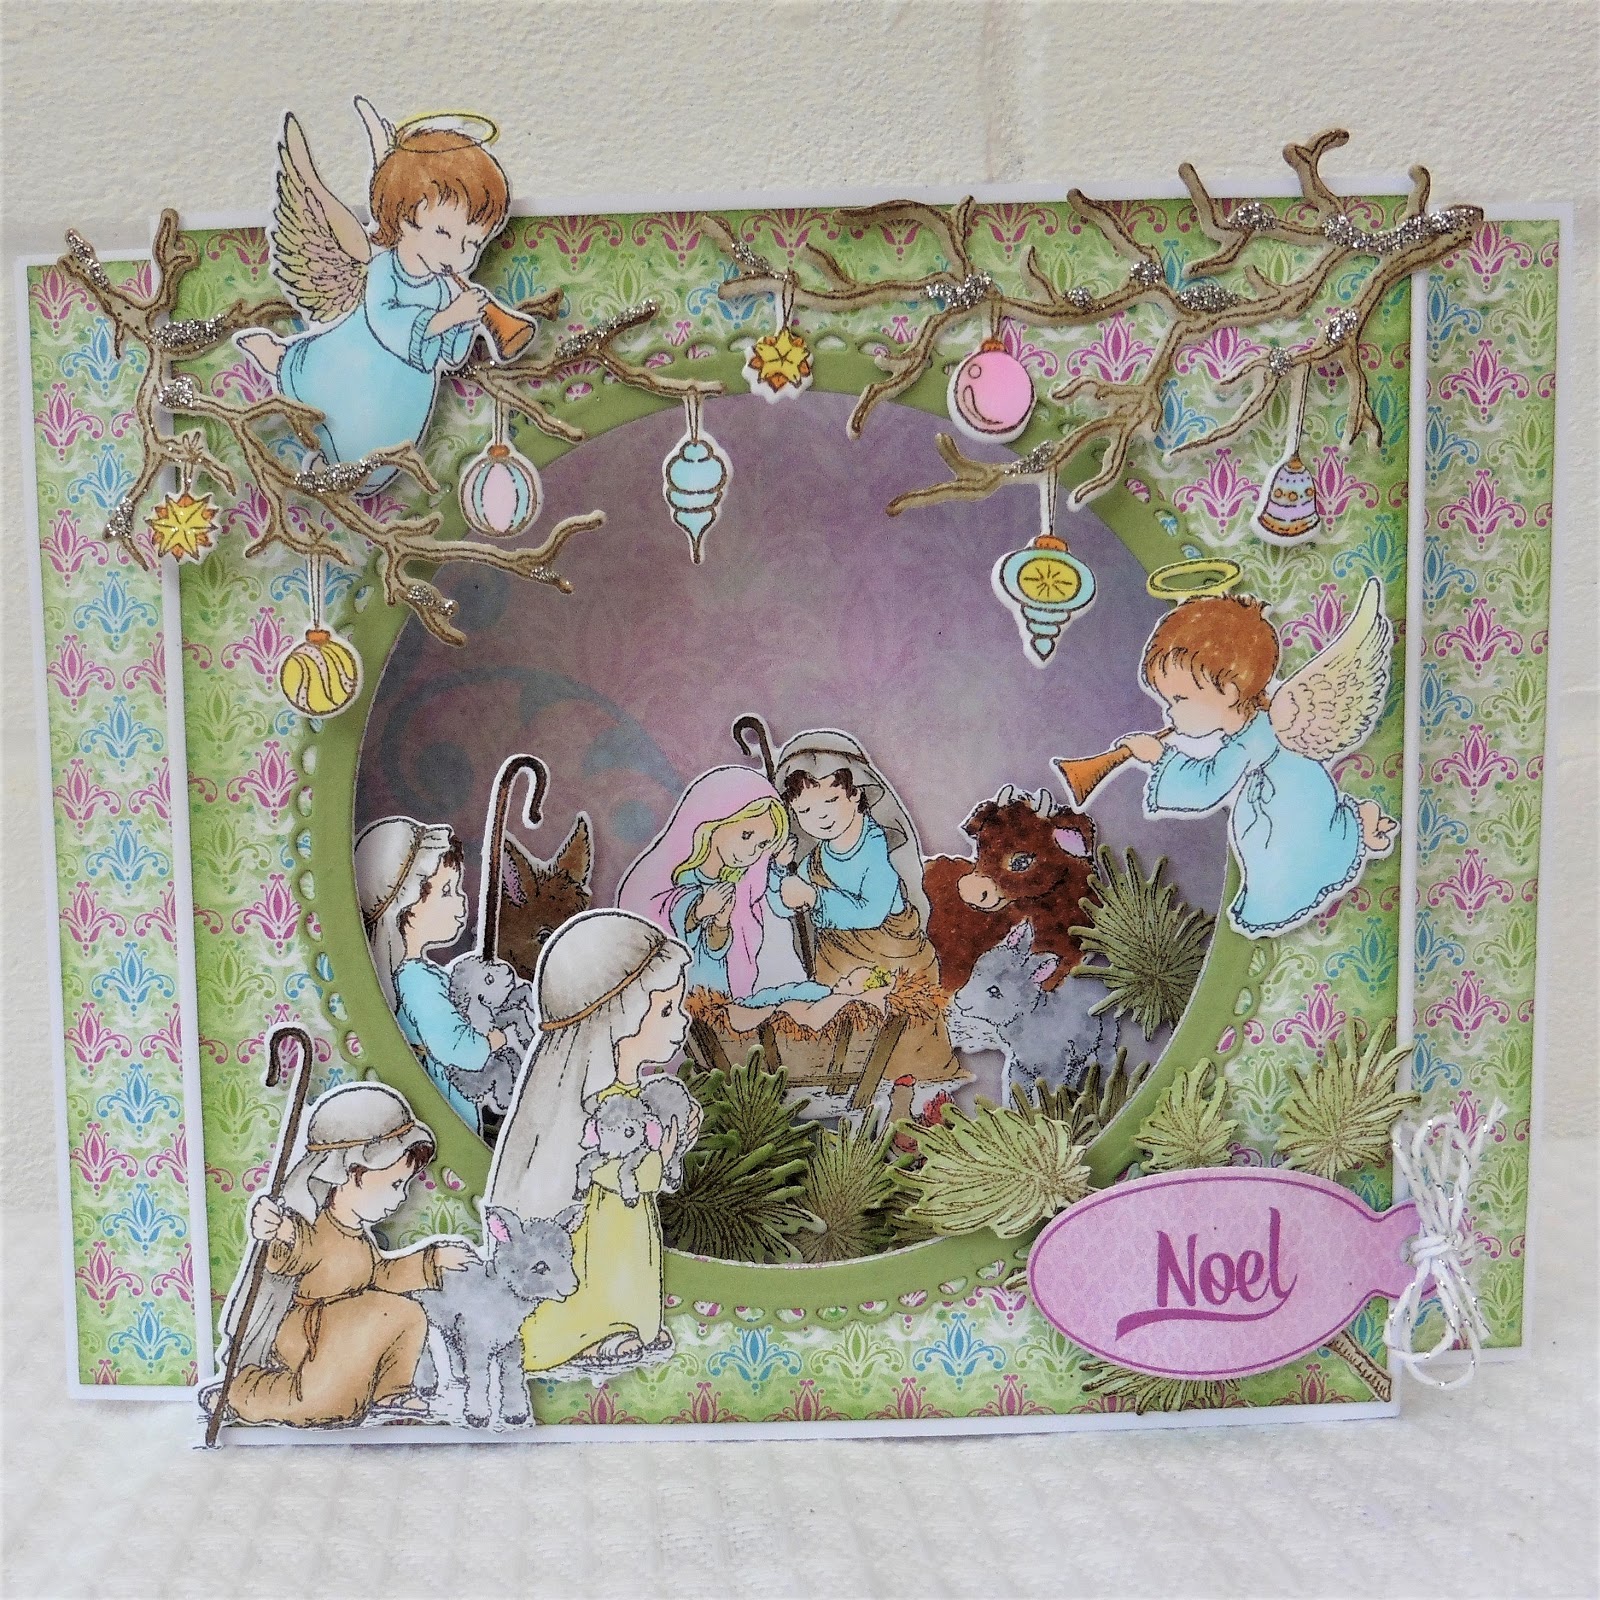
I've made this cute little aperture card using the Merry & Bright Paper with
the O Holy Night stamps and dies from
You will need:-
HCDP1 – 293 Merry and
Bright Paper Collection
HCD1-745 Luggage and Tags
die set
HCPC – 3837 Snowy Pine
Village stamp set
HCD1 – 7195 Snowy Pie
Village die set
HCPC – 3836 Merry Little
Christmas stamp set
HCD1 – 7194 Merry Little
Christmas die set
HCD1 – 7154 Eyelet Circle
& basics Small
HCPC – 3832 O Holy night
stamp set
HCD1 – 7187 O Holy night
die set
HCST1 – 401 Deluxe flower
shaping kit
And a few others bits:-
White card, white card for
stamping, Black memento ink, Soft Suede, Highland Heather, Pear Pizzazz and Sahara
Sand ink pad. Pear Pizzazz card stock– Stampin Up!, fine silver glitter, silver
sparkly bakers twine, wet glue, Foam pads, hot glue
I coloured it with Copics:- Wings -Y00, RV00,
Ox – E59, E35, chicken – R14, E43, Mary headdress – RV00, RV02, crib – E84,
E43, shepherds headdress – Woo, W1,W3, W5, Skin – E000, E00, Shepherd – E31,
E35, Shepherd 2 – W00, Y04, Y00, Shepherd 3 – B000, B00, B2, hair – E59
This is how I made it:-
Cut 2 pieces of white card
7.5” x 5” and score at 3.75”, 1.25”, 6.25” and 6.75”, fold the 2 inside score
lines into a mountain fold and the outer score lines to make a valley fold.
Select the paper from the
pad and cut a square slightly smaller than 5” and 2 strips the same height slightly
less than 1.5”. Edge with Pear Pizzazz ink and adhere the square to the card
front using wet glue, allow to dry. When dry, die cut a circle using the
largest basic circle from the die set in the centre of the paper to form the
aperture at the front of the card.
Make a Pear Pizzazz
frame:- using the eyelet circle die cut the eyelet circle, then position the
largest basic circle in the centre and die cut. Adhere the frame to the
aperture you created on the card front.
Select a paper from the
pad for the card background and cut a square slightly smaller than 5”, edge
with Highland Heather ink and adhere to the back section of the card. Using the
aperture on the front part of the card as a guide, position the nativity and
secure into place with foam pads.
Adhere the 2 strips of
paper to the front edges of the card and glue the front and back pieces of the
card together.
Stamp the branches in soft
suede onto white card and colour the branches in sahara sand ink. Colour the
ornaments in copics to co-ordinate with the characters. Add glitter where the snow is shown on the branches. Shape and
add to the top of the card using wet glue.
Add the shepherds and
angels using hot glue.
Die cut the sentiment and
position at the front of the card with the remaining pine needles. Tie a
sparkly bakers twine bow to finish.
Happy Christmas in July
X
Another absolutely beautiful card Cheryl! Love it!
ReplyDeleteSuch a beautiful project! It really brings the nativity story to life!
ReplyDelete