Welcome to my Rustic Poppy Wreath Tutorial
Inspired by Remembrance Sunday and those fought in the Great War, and since.
Gather your supplies
Heartfelt
Creations supplies:
HCPC-3674 Blazing Poppy Petals stamp set
HCD1-764 Blazing Poppy die set
HCDA2-450 pack of 30 stack and store daubers
HCST1-401 deluxe flower shaping kit
11blk gala glitz
Other Supplies:
Scarf hanger
Black ribbon
Real Red ink pad and card stock (Stampin Up!)
Black card
Wet glue
Hot glue
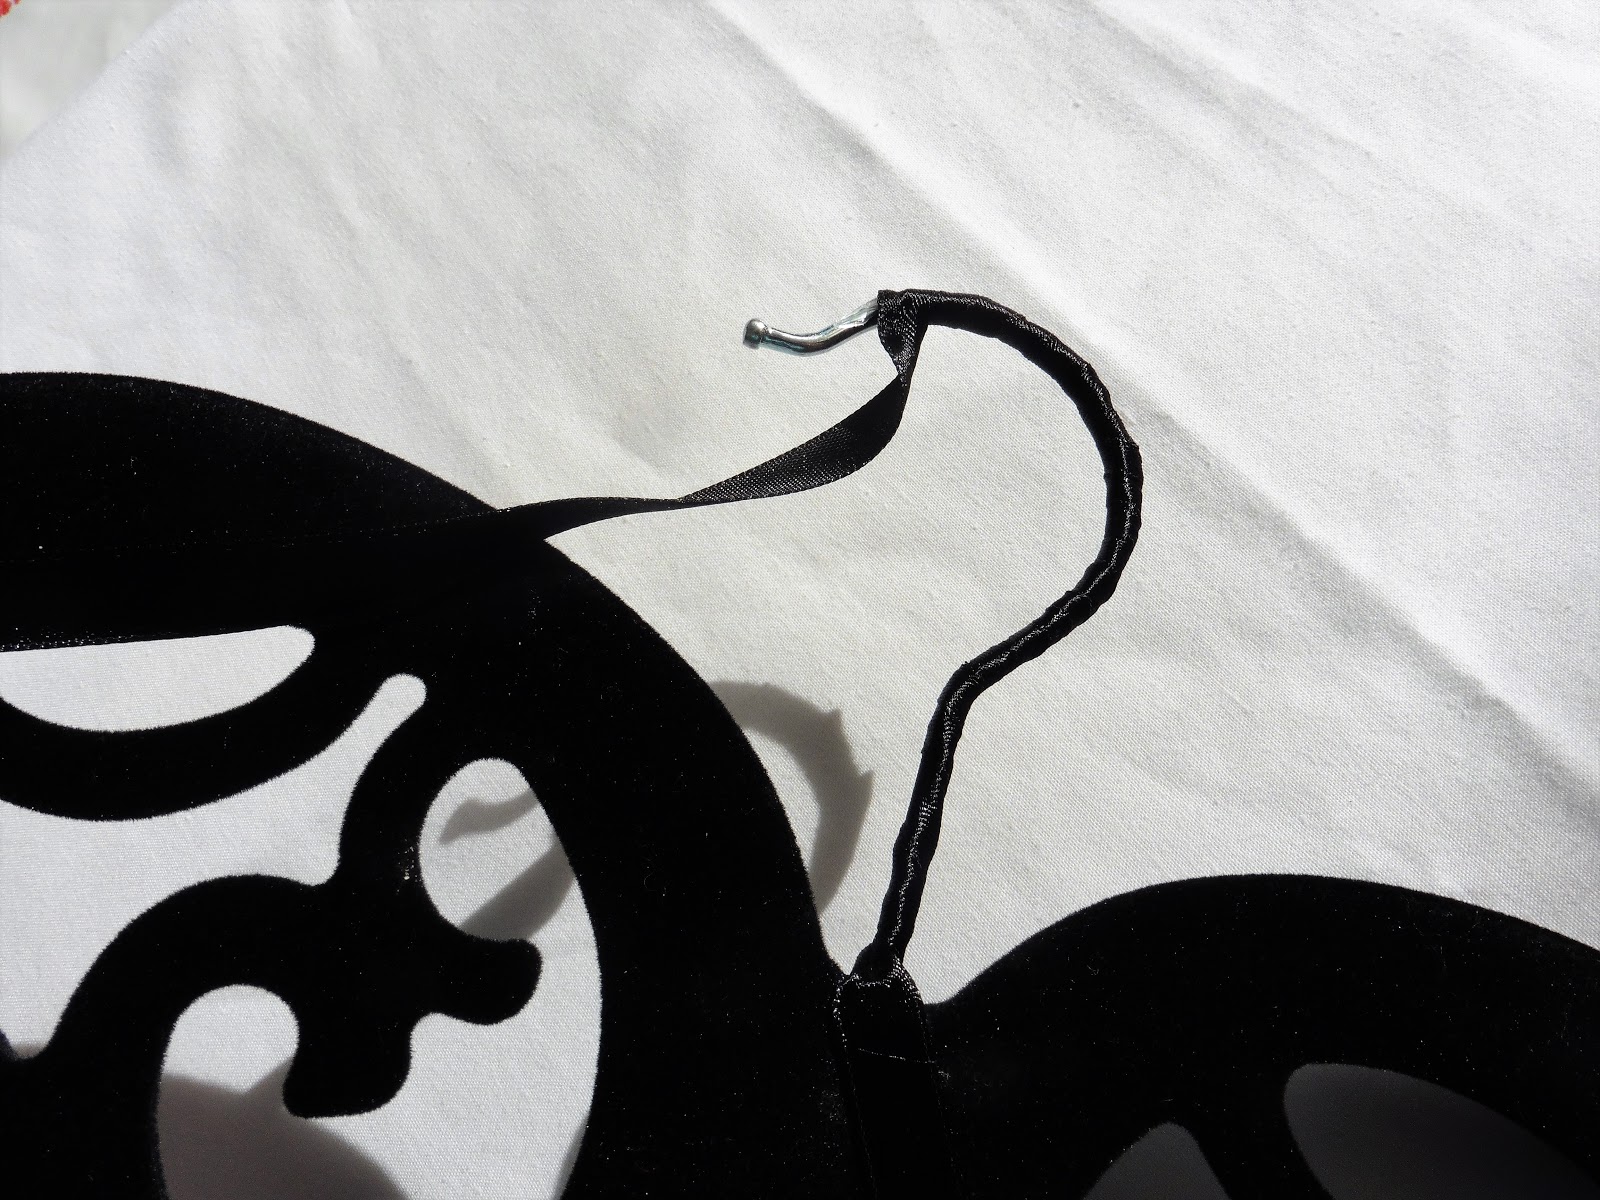
Wrap
black ribbon tightly around the metal hanger
Wrap the ribbon back to the base of the hanger and secure with hot
glue.
Ink the stamp with Real Red
ink (Tip, as this is a large stamp it
may be easier to place facing upwards and tap the pad onto it)
Stamp onto Real Red card stock, stamp 6 times.
Line up the die with the
stamped image.
Die cut
Ink the edges of all the petals using real red ink using a stack and
store dauber.
Spritz the reverse of the die cut.
Shape the reverse of the poppy with the flower shaping ball tool.
Turn the flower over and use a slightly smaller ball tool in the
centre of the flower – this will encourage the petals to lift.
Use a small amount of wet glue in the centre of one set of petals and
offset another set of 3 petals ontop to glue into place.
Put a blob of hot glue in the centre of the poppy and cover in black gala glitz. Allow the glue to harden.
Remove the excess gala glitz
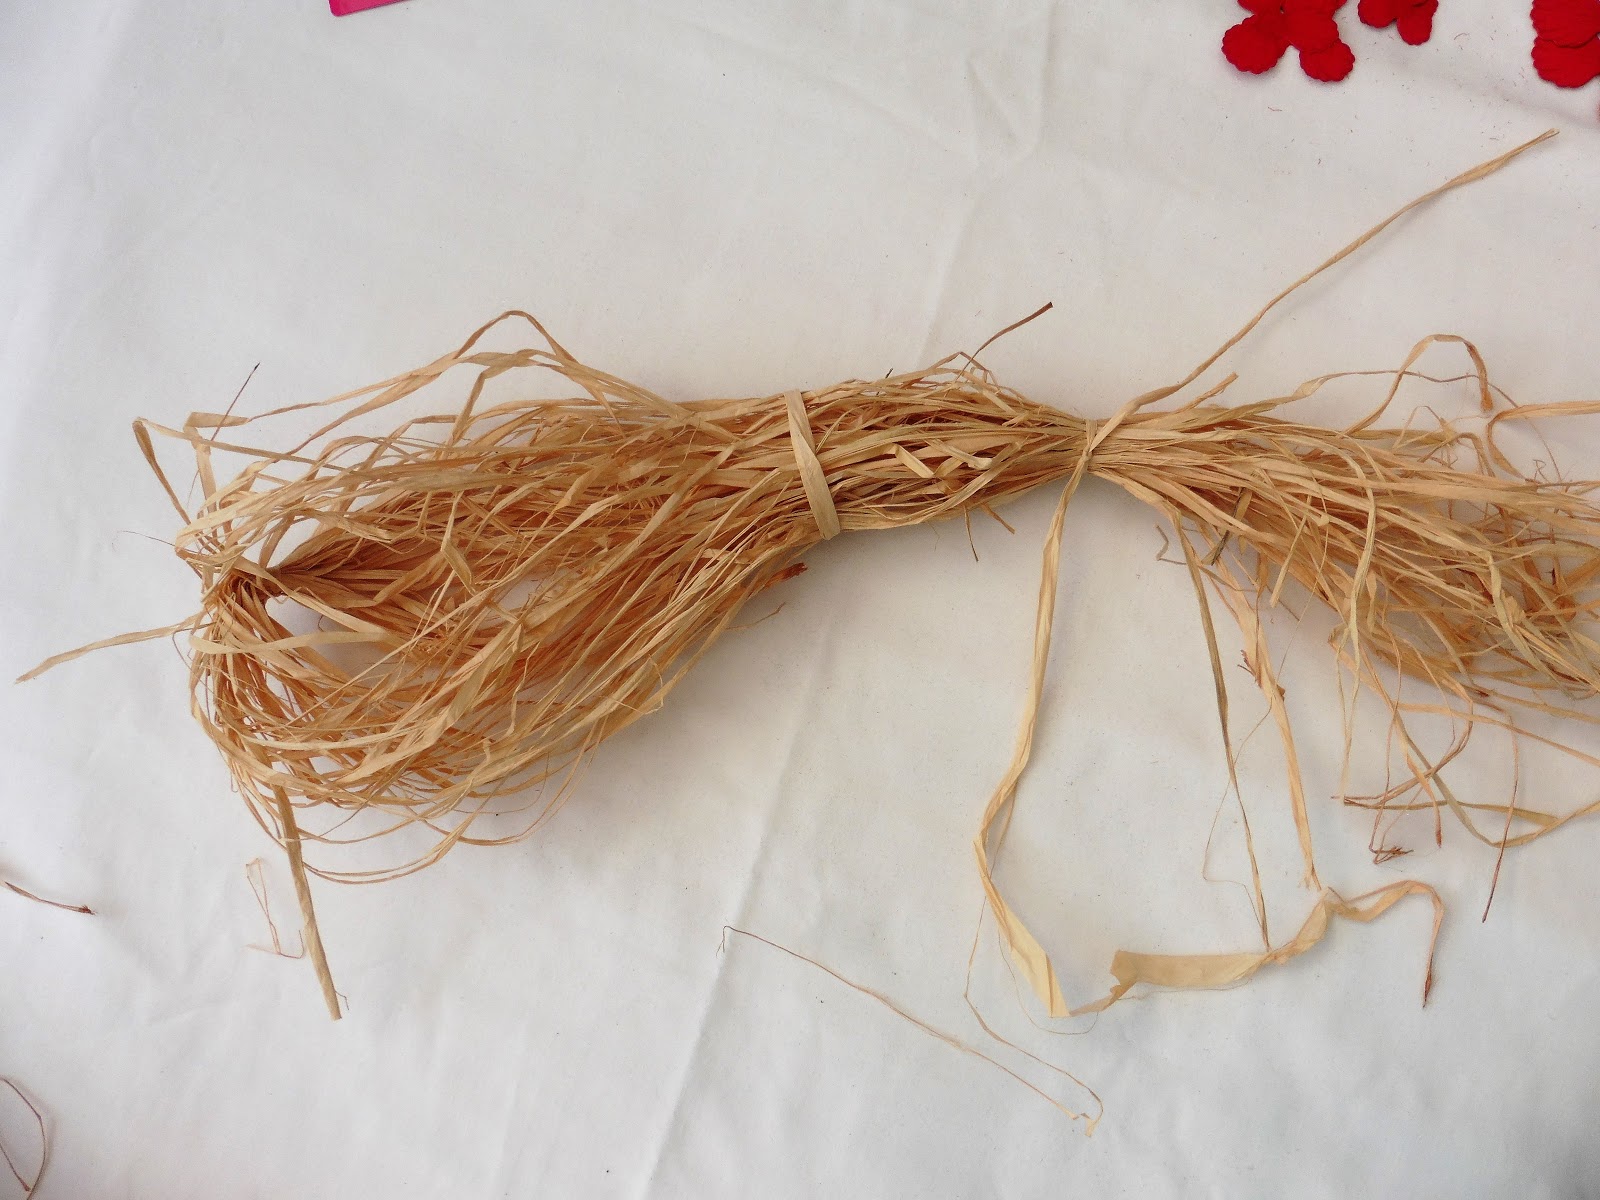
Take a handful of raffia strands and tie them together in the centre
with a piece of raffia.
Tie a 2nd raffia string loosely approx. 6-7” further down
the raffia and tease the first section
open.
Tie a 3rd section quite tightly.
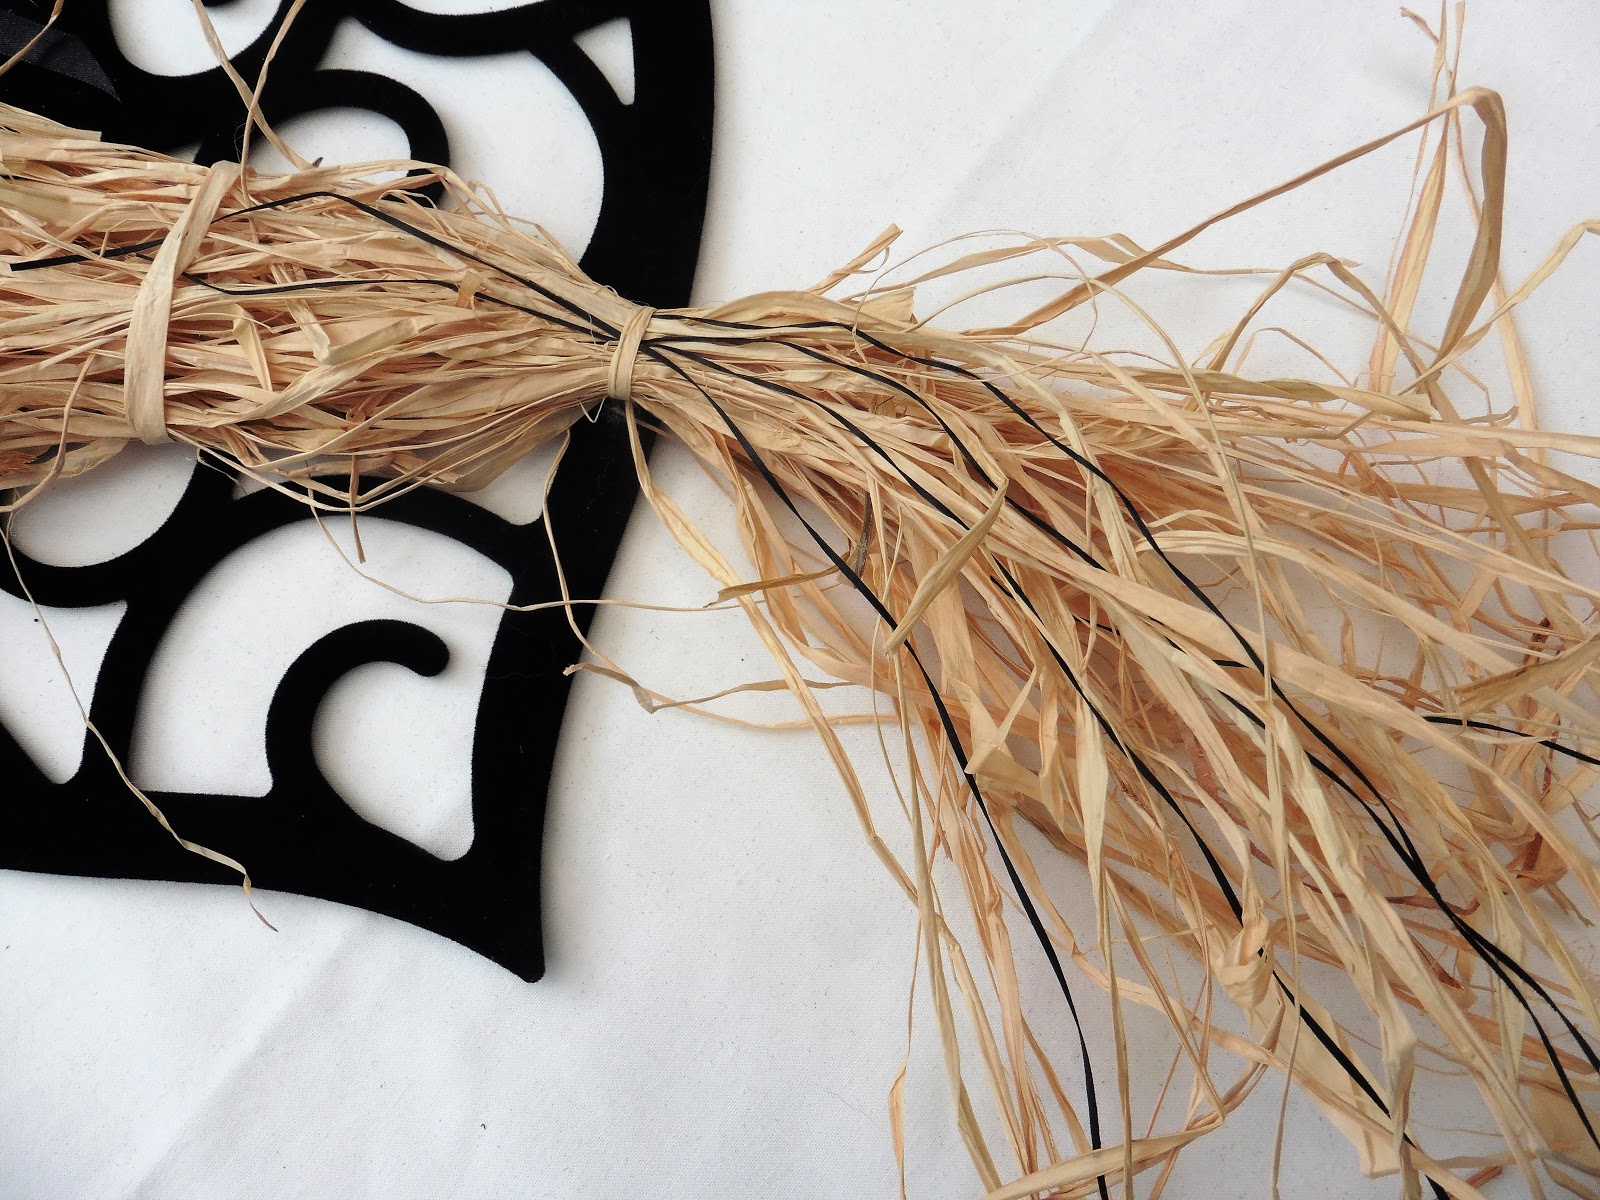
Check that the ties are in the right place to fit the scarf hanger and
cut a few very thin black pieces of card.
Place the black strips of card under the lowest raffia tie and hot
glue the raffia to the scarf hanger.
Position the poppies onto the wreath and begin to hot glue them into
place.
Tuck some of the
smaller poppies amongst the raffia to give the effect
that the poppies are falling off.
thank you for visiting my blog today - if you are interested in creating this wreath, or just having a go at making simple flowers for the first time, this is a great way to start - you can get your supplies by clicking HERE
X